

Everything You Need to Know About Jewelry Photography
Apr 20, 2022
If you’re a jewelry seller, you probably already know the importance of having quality photos of your products. The best online jewelry stores all have one thing in common: gorgeous product photos. They can make or break your business — you can’t convince customers to buy if they can’t see the detail of your jewelry. Yet, photographing jewelry can be a challenge from avoiding reflections and smudges to knowing how to properly use aperture and lighting.
However, jewelry photography can be easier than other products since the studio space can be smaller and easier to set up. This article will cover how to take professional-looking product photos, list the tools you’ll need to do so and explain how you can do it all with nothing more than the camera on your phone. After reading, you’ll be able to create compelling images that sell and build your brand.
How to Take Pictures of Jewelry
When trying to shoot product photos for your ecommerce jewelry store, it can be hard to know where to start, especially if you’re a beginner. Here are some starter steps on how to take pictures of jewelry:
- Set up your space
- Position your lighting
- Style your jewelry
- Prepare your jewelry
- Set your camera
- Take the photo
- Retouch and finalize
These seven steps may seem too easy, but if you follow them, you’ll get a product photo that sells.
-
Set Up Your Space

Choose the space that you want to become your photo studio. Setting up near a window will offer you the best lighting for your photos. Set a table 90 degrees to the left or right of the window to prevent shadows falling over your product. The closer to the window, the softer the light you’ll have for your picture. Next, you’ll want to set up a backdrop. If you’re next to a wall, you can tape it up — otherwise, you’ll have to create a way to hang it vertically. This piece is called a sweep. Then, place a tripod in front of your setup.
-
Style Your Jewelry

If you’re just starting out, a white background is the easiest option and that’s okay, but you also don’t need to limit yourself to just white. To add more interest to your product photos, you can add props and change your background. Try some ideas like:
- Marble slab background
- Simple textured backgrounds
- Ring holders or stands
- Group photos with other pieces of jewelry
The styling is entirely up to you and how you want to present your products to your customers. There’s no one way or one answer on how to style. It is, however, always easier to start simple and add extra details over time.
-
Prepare Your Jewelry

Clean and polish your jewelry prior to shooting any product photos. It’s a must. Remember that your final image will often be blown up several times the jewelry’s actual size so customers can see the detail. Any smudges will be revealed and take away from the quality of your photography. Every time you touch the jewelry, you should be wiping it down. You can also wear cotton gloves to save time and prevent reshoots. Once cleaned, place your piece in the center of the flat part of your sweep.
-
Set Your Camera

Avoid taking artsy, low-aperture shots of your jewelry that only focus on one part of it. Customers trust high aperture, full-focus photography much more since it creates sharp images. Your customers want to see every detail of the product before deciding if they want to purchase it or not. Using aperture settings of F-11 or greater and an ISO as low as possible — preferably ISO 100 — will offer the best photos. Ensure your white balance is set accurately so you can capture your intended colors. You can either set it manually or use your camera’s automatic mode and check the results post-shoot.
-
Take the Photo
You’ll want your camera set on the tripod in a way that creates a slightly downward angle toward the product. Position lights above the product on either side, angled down and set to the same power. Take a test photo to see if it’s set the way you’d like and then shoot away.
-
Retouch and Finalize
After taking your photos, you still have one more step prior to uploading them to your online store. This step is key to making your product photos look professional and beautiful. The easiest way to do this is to hire a professional editor to retouch the images for you. This can be costly but it saves you the time of learning how to edit photos from scratch. However, if you’d like to do it yourself, there are plenty of free online photo editors available to use. Take time to learn the photo editing basics and best techniques to create the best results.
The Kind of Equipment You Need to Photograph Jewelry
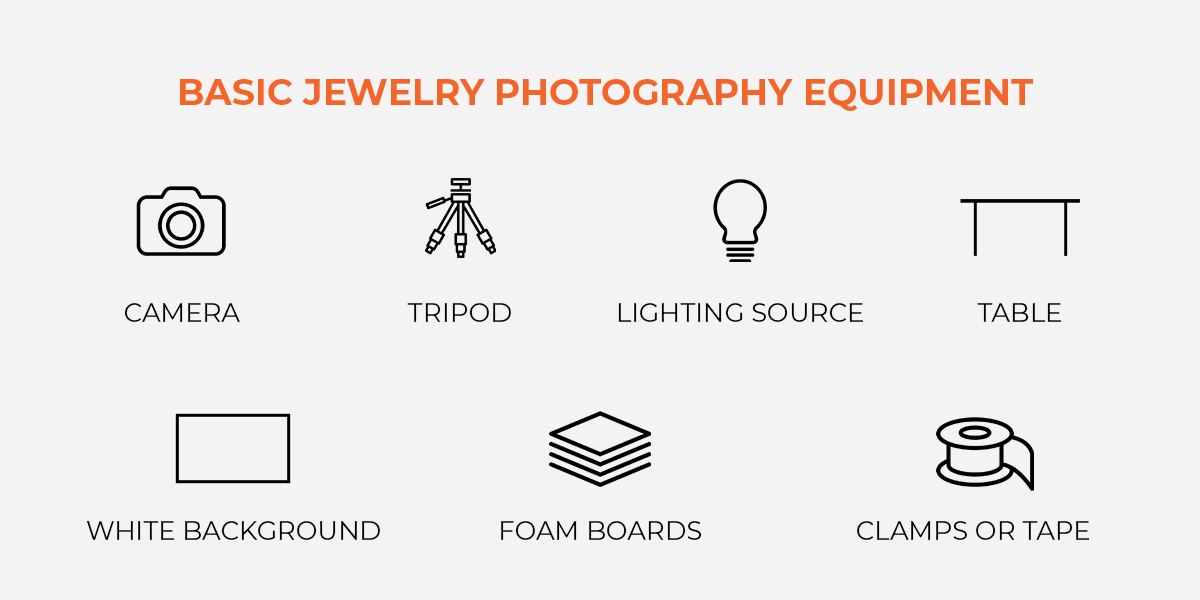
Here’s the basic jewelry photography equipment you’ll want to have:
-
Camera.
You might think you need to spend a lot on a camera to get high-quality product photos, but the truth is, you don’t need the most expensive one, especially if you’re just starting out and don’t have the budget for it. You can shoot with just your phone too. If you already have a DSLR with a nice camera lens, you can use that as well. If you’re using a camera instead of your smartphone, you’ll want to have the right lens for the best quality images. Since pieces of jewelry are small objects, you’ll want a macro lens. It allows a magnification of your product that will fit the frame even if it’s small. An entry-level macro lens allows a 0.5 representation of your product with a focal length of 60mm. If you have the budget and will be shooting often, it might be better to invest in one that gives you a 1:1 ratio, or a life-size representation. Instead of a macro lens, an extension tube is a better option for sticking to a budget. You can place it between the camera and the lens to extend the distance, shortening the focusing distance, which allows you to get closer to the product. Yet an extension tube doesn’t work for every camera because it can interrupt the autofocus functions of your lens. You can also consider a close-up lens instead of a macro lens or extension tube. These maintain the lens’ autofocus functions and you can choose the amount of magnification, but you will lose some image quality with it. -
Tripod.
Holding your camera to shoot will result in camera shake, no matter how still you try to stay. Always use a tripod. They are cheap, effective and improve both quality and consistency. They allow you to keep the angle and perspective consistent throughout your photoshoot, which is very important when creating a series for your shop. Mark a spot on the floor for your tripod so you can easily replicate your setup another day, keeping consistency across all photoshoots. -
Lighting source.
Light, like a tripod, is an absolute must. A room with windows next to a wall is a good option for natural lighting. The bigger the window, the more light you’ll get. If you don’t have natural lighting or enough of it, you can buy artificial light sources. A softbox is a good option. Keep your setup simple in the beginning. Once you’re familiar with the camera, then you can try different lighting tactics. A grey card is something else you might want to consider to keep lighting balanced in your photos. White balance is essential for accuracy and consistency, and a grey card or a color checker is the best way to achieve this. To use it, take the first image on your camera with it in the scene, then shoot as usual. Any time you change your lighting, you should take another photo with the grey card in it. In post-production, you can correct the white balance using an eye dropper tool on the grey card image and then synchronize it with the rest of the images with that lighting setup. -
Table.
A standard folding table works best. Look for one with a width between 24 and 27 inches. -
White background.
A white background may seem simple, but it’s actually the industry standard for product images. It allows the piece of jewelry to get all the attention. A busy background could work against you. The jewelry won’t absorb or reflect any light or colors with a white background since there aren’t any to reflect or absorb. It’ll look as close as possible to how it really is, which is important as a jewelry seller. There are several ways to create a white background for your product photos. Consider buying a white paper sweep. These are big rolls of paper that are specifically used to create backgrounds for photography. If it gets dirty, you can simply cut it off and roll out a clean section. Poster board is an alternative to sweeps. -
Foam boards.
When shooting product photography, there’s always a shadow side. It’s usually too dark to produce a good image. You can place a white foam board to reflect light back into the shadow to brighten it up and prevent it ruining your photos. A light tent — or light box — is another way to diffuse the light. -
Clamps or tape.
You’ll want clamps or tape to keep the foam boards and sweeps in place when shooting.
These are just the tools you’ll need to get started with your jewelry photography. As you grow and gain confidence, you can always add more for a more professional experience and result. Products like the Foldio by OrangeMonkie offer an easy and professional setup that won’t require as much time to ready whenever you want to shoot.
How to Create the Perfect Jewelry Product Photo
You have the basic steps and the basic equipment you need to get started with your product photos, but it can still seem intimidating if you’re a beginner. There are certain things, like consistent photos and less props, that might not seem obvious but can make a huge impact on your end results and customers. Then, there are also things you’ll want to avoid that are common mistakes among jewelry photographers.
Here are some jewelry photography tips on what to do and what not to do in order to create your perfect product photo:

Jewelry Photography Tips
- Take consistent photos. Develop your own set of guidelines for your jewelry photography, write them down and follow them. Consistency is key when it comes to ecommerce photography. Variations from product to product or shot to shot will distract your customers. You’ll want to be as specific as possible and document everything from camera settings to lighting to background to equipment position. You’ll want to be able to resume shooting on a different day without any noticeable changes.
- Keep backgrounds simple. If you’re just getting started, a plain white background might seem boring, but there’s a reason that big name brands like Amazon require their sellers to use only a white or neutral background for their product photos. A plain white or light grey background keeps the focus where it should be — on your product. Black is also popular in jewelry photography but if you use it, it may be difficult submitting it to some marketplaces.
- Use fewer props. This is the same idea as using a simple background – fewer props keeps the focus on the product. They’re a distraction that you don’t need. There are times when it is appropriate to use props, models or various backgrounds, like editorial shots for branding purposes. But those variations don’t belong on product pages. If you want to use props, keep them simple like the background. A plain white mannequin bust is good if you want to display how a necklace will lay when worn. If you can only find a black bust, cover it with white cloth for the best result.
- Eliminate reflections. You want customers to look at your jewelry without trying to figure out if that’s the photographer’s reflection or a flaw in the stone. It’s difficult to shoot highly reflective objects, like gemstones and metal, without capturing distracting reflections. Try a double overhead light.
- Take photos from different angles. It’s incredibly disappointing to your customers when they’re trying to view a product to determine if they want to purchase or not and find that there’s only one image. Give them both an overhead shot and a close-up and everything in between. You took a lot of time and effort to create the perfect setup for your product — it would be a waste to only shoot one or two images. Showcase every aspect of your jewelry to build trust in your customers. More images lead to more sales. When shooting rings, Blu-Tack, glue dots and double-sided tape allow you to stand the rings horizontally for a nice angle. You can edit out any visible tape in post-production. Fishing string or threads work well to create more angles for pieces like dangling earrings. Use a piece of cardboard folded in half, stretch the string from one panel to the other and hang your pieces in the center. Ensure that your jewelry is not moving when you take the photo.
- Retouch your photos. Poorly retouched photos can feel fake, causing you to lose a customer’s trust in the product and your store. Invest time to become skilled in editing software or hire a professional to prevent this. When retouching, keep in mind that consistency is key. You’ll want all your images to look as similar as possible, no matter when you shot the image.
- Use soft lighting. Soft lighting works best for jewelry photography. Take photos next to a window or diffuse artificial light to get the highest-quality image. Avoid on-camera flash because it’s too bright and will not compliment the products well. Direct sunlight can cause harsh shadows. You can soften them with a diffuser or household items like a frosted shower curtain, parchment paper or a thin sheet.
- Select the correct aperture and ensure everything is in focus. If you use a macro lens to photograph jewelry, don’t think that a wider aperture — f2.8 or f4 — is going to make your photos look brighter. More light will enter the lens, but only a small amount of the product will end up in focus. You won’t be able to see the full detail of the entire piece of jewelry. For best results, use an aperture of f11 or f16.
Common Mistakes to Avoid When Photographing Jewelry

Before you start shooting, take a look through these common mistakes. You’ll want to do your best to prevent them before they ever happen. Jewelry is intricate and it can be easy to overlook some details, causing things to go wrong. Avoid:
-
Not being well prepared.
Clean and polish your items before shooting. It will save a lot of time at the end when you’re editing. -
Poor lighting.
If your lighting isn’t great or consistent, your items will look very different in color across your store. Use the same lighting and studio every time you shoot to keep everything looking consistent. -
Reflections.
Bad lighting causes bad reflections. Avoid reflections as much as possible because it prevents your customers from seeing all the details of your product. It also makes your images look less professional. -
Incorrect coloring.
You want the colors of your product to look as accurate as possible. The customer will not be happy if they receive a product different than what it portrays in the image. Don’t add in the product description that the image isn’t accurate because most customers won’t take the time to read it — they shop based on the photos. -
Inconsistent image size.
Jewelry can range in sizes and unfortunately, you won’t be able to show everything to scale on your online store otherwise some pieces would be so small that you wouldn’t be able to see them or their detail. So it is important to keep your image size consistent so everything is aligned and easy to browse on your shop. -
Inconsistent backgrounds.
Again, consistency is key. Keep your photos on brand with a consistent background. -
Not enough images.
There’s no such thing as too many product images. You can always shoot more and shoot from every angle. Include the details, the clasps, the chain and the item being worn. Brands often don’t provide enough images, making it hard for customers to fully visualize an item. It is especially important to provide an in-context photo when it comes to jewelry so customers know the size of the product.
Taking Pictures of Jewelry with a Phone
If you don’t have a professional-grade camera, you can still shoot with a smartphone and end up with high-quality images. When using your phone for product photos, follow these steps for best results:
-
Step 1.
Organize your set. First, you need to position and secure your backdrop. Be sure to clean and position the jewelry you’re going to shoot. -
Step 2.
Choose and set the lighting. Decide if you’re going to use natural or artificial light. Then choose how to angle them. You can add modifiers to soften the light for best results. -
Step 3.
Set up a tripod for your phone. Just like any other camera, this’ll ensure the framing is consistent and prevent camera shake. There are also macro lens attachments you can purchase for your phone to magnify the product without losing quality in the image. -
Step 4.
Lock the focus. Using the AE/AF lock feature on your phone ensures that you’ll get a perfectly sharp and well-exposed image. To use this feature, tap and hold on the subject to indicate the focus point. Your phone will automatically calculate the proper exposure based on this focus point. A yellow square will appear around this area. If you need to adjust the exposure more, swipe up to make it brighter or down to make it darker.
-
Step 5.
Start shooting. It’s as simple as that! You’re ready to shoot your jewelry on your phone. Take a lot of photos to ensure that you get the perfect result. Don’t forget to shoot at different angles as well for variety. Adjust the focus every time you move the camera or product. -
Step 6.
Use a photo-editing app to do your retouching. This will make it more professional-looking. Most photo-editing applications will let you adjust white balance and exposure.
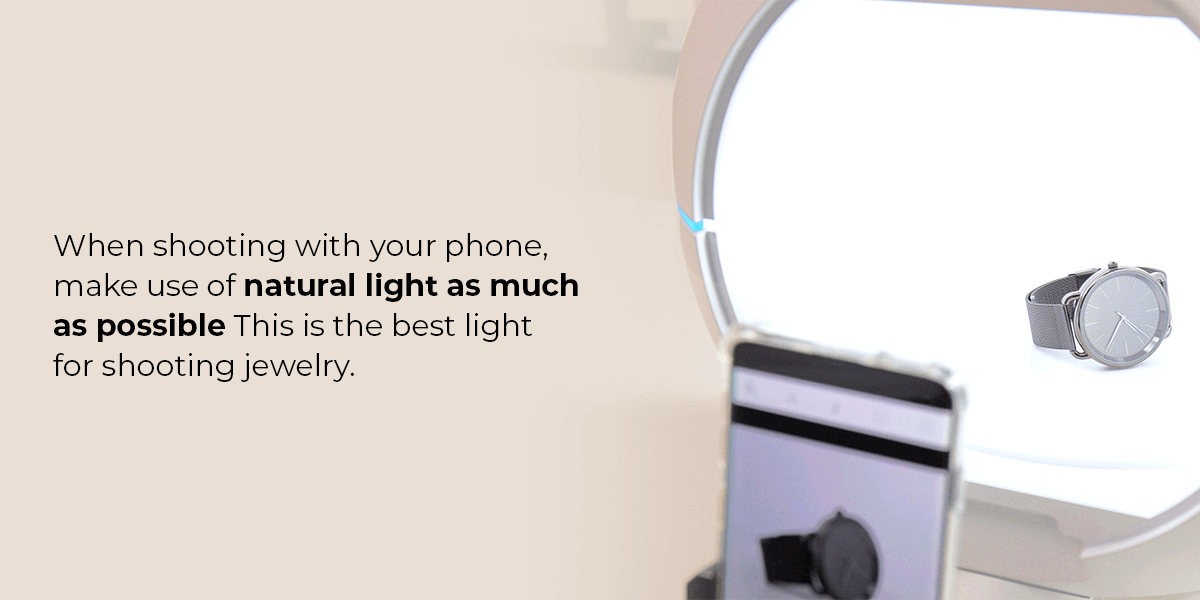
When shooting with your phone, make use of natural light as much as possible. This is the best light for shooting jewelry. Don’t use the flash. People will assume that the flash will enhance the picture quality, but in reality it often has the opposite effect. It will flatten the image and won’t show all the details of your jewelry. Natural light adds depth. Also, be sure to keep your distance from the product. You’ll want a close-up, but if you get too close, the quality will be reduced and you’ll have trouble focusing. Ensure you leave enough space for focus and to create a high-quality image. Similarly, don’t use zoom. You’ll lose the quality of the image if you do. When in doubt, look for inspiration. It can be hard to know how to take pictures of jewelry when you’re just beginning. Look at other jeweler’s websites to see how they shoot their jewelry. And remember, practice really does make perfect.

Create a High-Quality Set For Your Jewelry Product Photos with ORANGEMONKIE
Now you know how to take high-quality photos, the products that you need to do it and what to avoid, all you need are your products and the set to shoot. It can be hard to choose what products to get when you’re a beginner.
ORANGEMONKIE was founded on the idea that photography is for everyone, so they offer products that are for everyone, no matter your level of experience. Their photography studios provide an easy and affordable means of capturing professional-grade images without the need for professional training or equipment.
They offer a variety of softbox kit product photography solutions like:
Their lightboxes are ideal for many product photography applications, including jewelry.
Shop ORANGEMONKIE products and start shooting high-quality product images of your jewelry today!


