

Step by Step Guide for Product Photography
Jan 23, 2023
Having high quality visual elements for your online business is key when it comes to consumer purchasing decisions. Devoting more time and energy towards your product photography is one way to upscale some of your business’ visual elements. With a solid plan of action, you can have a successful photoshoot. This product photography step by step guide will take you through the important steps to take and turn your photography dreams into a reality.

1. Set Up Your Studio
Before getting your studio space set up, it would be helpful to have prepared for your shoot with a moodboard of photos so you know exactly what kind of shots and props you need going into it. This will save you so much time! When you set up for your shoot, the 2 main components to focus on are lighting and background.
A. Lighting: Perfecting your lighting is important because it determines the brightness levels, colors, textures, and overall mood of your photos. Depending on where or what you use to shoot, you may need clip-on lights for direct lighting or additional studio lights to brighten up your space. To make it easier, we recommend using all-in-one photo studio light boxes such as txhe Foldio Lightboxes which come with built-in dimmable LED lights. With this, you no longer have to worry about buying separate parts and/or losing track of where you put them. Click here to learn which Foldio Lightbox size fits your needs. In general, photo light boxes are convenient because no matter what time of day you are shooting or where you are shooting from, the lighting in your photo will stay consistent.

B. Background: When in doubt, keep your background clean and minimal to bring all attention towards your product and nothing else. Using a backdrop sweep might be a good option to eliminate any presence of blemishes in your photos that you might notice if you used a wall as a background for example. You could tape your sweep against whatever object your product is propped against. If you’re using a Foldio Lightbox, attach any of the backdrop sweeps that it comes with to the top of the lightbox, as these are specifically designed to fit the exact lightbox model you’re using.

2. Get Your Camera Set Up
Whether you choose to shoot with a phone camera or DSLR, we highly recommend using a tripod for consistency and clearness throughout your photos. Here at our studio, we use the Tripod50v because it works with both cameras and phones. To get the most professional and high quality images, use a DSLR camera.
Here are some general DSLR camera setting recommendations:
- Shoot in manual mode
- Set your image format to RAW to get the highest quality images
- Shoot with a lower ISO to avoid grainy photos (increase accordingly for lighting purposes)
- Shoot with a higher f-stop value to achieve a deeper depth of field
- Shoot with a lower shutter speed for sharpness

3. Start Shooting
The shooting process comes with a lot of trial and error so take your time with it. During the shoot, take a look at how the photos are turning out on a computer instead of just the small screen on your camera so you can get an accurate representation of how your photos are turning out.
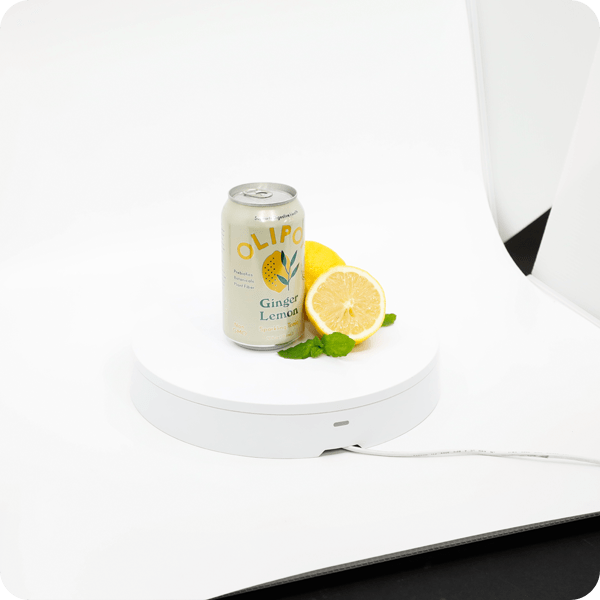
If you want to take it up a notch, consider incorporating a 360° spin to your photos so you can show off each and every angle of your product. This way, consumers can get an even more accurate and detailed look into your products. To do this, you’ll need a 360° Turntable. Learn how to create 360° images here.

4. Edit Your Photos
Edit your photos after shooting even if you think your photos are fine on their own. Adjust settings like exposure, contrast, color temperature, saturation, etc. This will help keep all your images consistent in lighting, coloring, etc. Especially if you’ve used the Foldio360 Smart Turntable, use this opportunity to edit your turntable from your photos. Editing photos one by one can be a tedious task but editing softwares like foldio360 Edit have batch editing features which allow you to apply your edits to all your images in one click.

5. Save and Upload Your Images
Save and export your images after all edits are made. If you used foldio360 Edit, you can export your images as a PNG/JPG/GIF/MP4. If you took photos with the Foldio360 Turntable, upload your edited images to SPINZAM, a platform designed to create interactive 360° images. Share your new 360° images onto your social media platforms or website with the provided iframe code.


